 |
|
|
SETTING UP A LAN AND SHARING |
|
| Nipawin - Saturday, July 14, 2001 - By: James deSantis | |
| Objective - |
To set-up a Local Area Network (LAN) consisting of 2 or more PCs and to share a single DSL Internet connection with all networked computers |
| Materials Used to Network Three PCs | |
| 3 Windows 95/98 based PCs 4 Ethernet Cards 1 DSL Connection 1 Ethernet Hub that supports three or more connections 4 lengths of Category 5 Ethernet Cable Proxy+ software by Fortech (http://www.proxyplus.cz) |
|
| Schematic Diagram of LAN & Internet Sharing | |
|
|
|
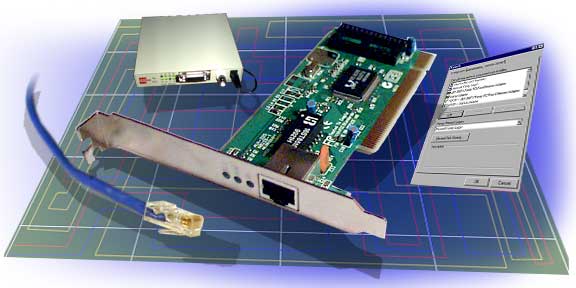
| In order to set-up both a LAN and share the DSL Internet connection, the host computer must have two Ethernet cards (Network Adapters) installed. One Network Adapter is dedicated for the DSL Internet connection and the other Network Adapter is dedicated for the LAN via the hub. Computers 2 and 3 are connected to the hub and are apart of the LAN. | |
| Configuring the Host Computer | |
| After successfully installing both Network Adapters into the host computer we must now configure the appropriate TCP/IP protocols for each. The network properties should look like the following: | |
|
|
|
| Identification Tab Enter a name for the computer. E.g. ZeroCool Enter a workgroup name. E.g. MyLAN Enter a computer description if you wish. Note: All computers connected to the LAN should have the same workgroup name. |
|
| CONFIGURING THE CLIENT COMPUTERS | |
|
|
|
| Note: If you were to add another client computer to the network, the settings would be the same except for the IP Address, which would change to 192.168.0.3. All computers should still use a Subnet Mask of 255.255.255.0 | |
| Identification Tab Enter a name for the computer e.g. Mitnick Enter a workgroup name e.g. MyLAN Enter a computer description e.g. Client A Note: All computers connected to the LAN should have the same workgroup name. |
|
| Installation of a Proxy | |
| So far we have set-up a LAN whereby all computers can connect and communicate with each other in order to share resources such as files and printers. Currently, only the host computer can connect to the Internet and therefore, we must complete the task of sharing the Internet connection for all computers on the LAN. | |
|
In order to share the Internet connection from the host computer, we need to install and run proxy software on the host computer. I suggest downloading and installing Proxy+ from Fortech (http://www.proxyplus.cz) for these reasons:
|
|
| In addition, for more detailed information regarding networks and internet sharing, I highly suggest visiting the website http://www.practicallynetworked.com. | |
 Configuration Tab